Funny Kids Drawings You Are Fat
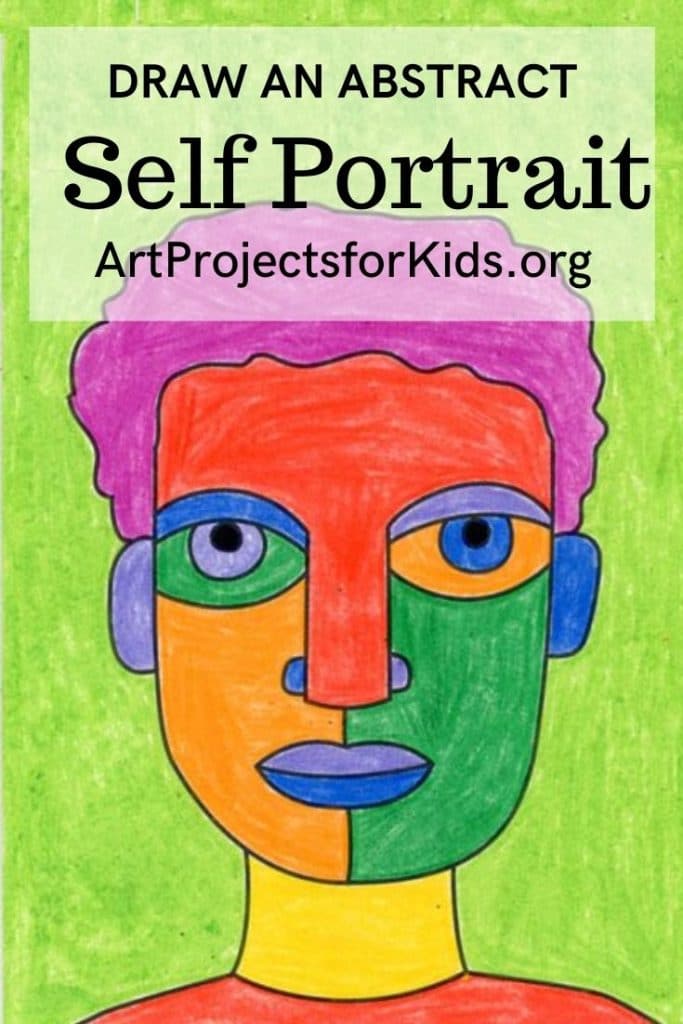
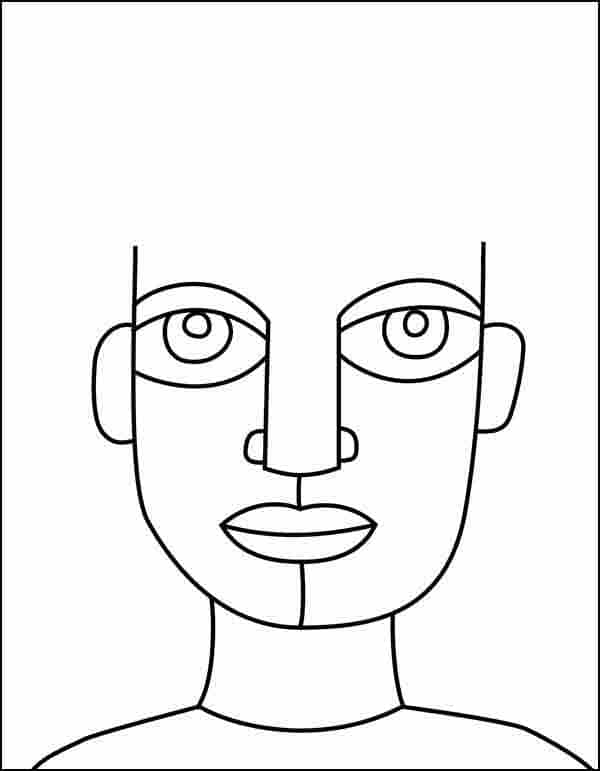
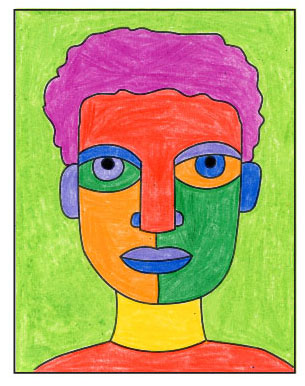
Easy How To Draw an Abstract Self Portrait and Abstract Self Portrait Coloring Page
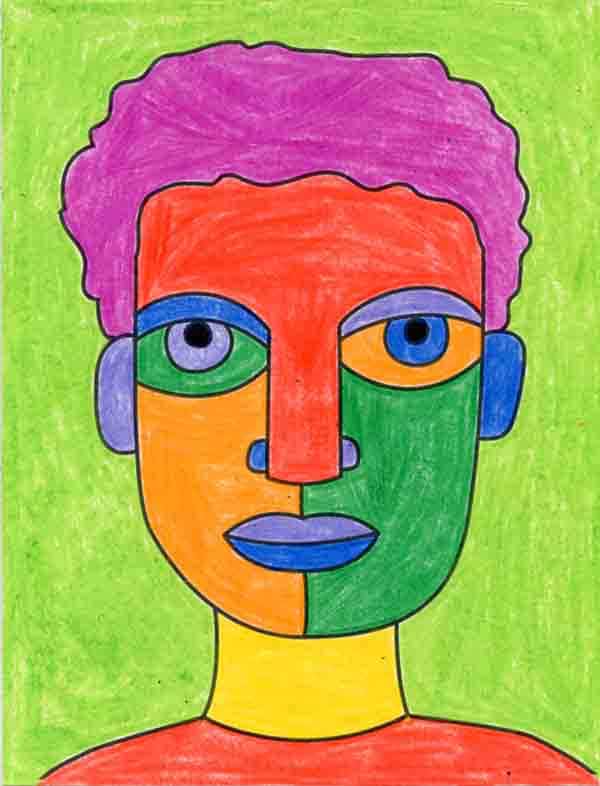
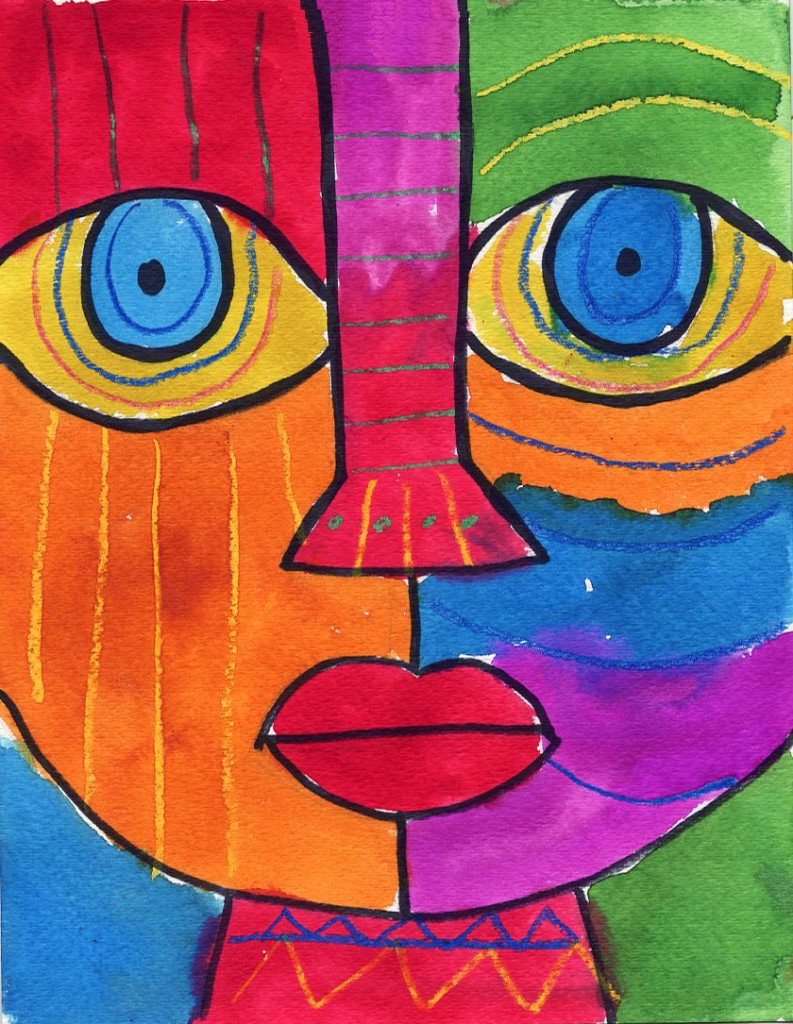
Abstract Self Portrait Drawing
Why Make an Abstract Self Portrait?
Do your students need more face drawing practice, but you dread the overthinking that is so common when it comes to drawing eyes? Or if they draw them, do they tend to turn out on the tiny side?
This super simple tutorial will avoid all that as it has a kind of formula for drawing eyes extra large. Not to worry though, there's still lots of places for their own personalization. If fact, my PDF shows some examples of how to draw different kinds of hair, to help them get started.
When the drawing is done, the drawing will have lots of closed shapes that are just begging to be filled with lots of different, bright colors. Try challenging them to keep any color from touching itself, and see what kind of abstract magic happens.
Using Drawing Guides
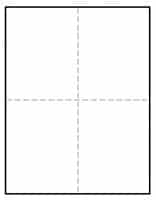
The best way to get students off to a good start to any drawing project is to show them how to use guides as a reference.
You may have noticed that all of the tutorials on this site have a dashed line running through the center of each step, both in the horizontal and vertical direction. If students make their own centered lines on their own paper, before drawing, they will have an easy reference to follow.
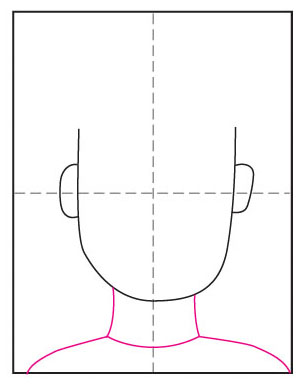
For instance, the first step of this abstract face starts in the center of the top left quarter of the paper. The line then curves down to the bottom and back up to the center of the right quarter. Those guide lines help students how to get off to a more accurate start — much more so than if they just had a blank sheet of paper to look at.
So does that mean students need to draw a big fat lines down the center of their paper before they start? Goodness no, please don't! That would most likely be hard to erase and distract from any finished art. No, simply fold the paper in half both ways, make a crease, and unfold. The beauty is that by the time the drawing is done and colored in, the creases will just disappear.
And now, on to our drawing project.
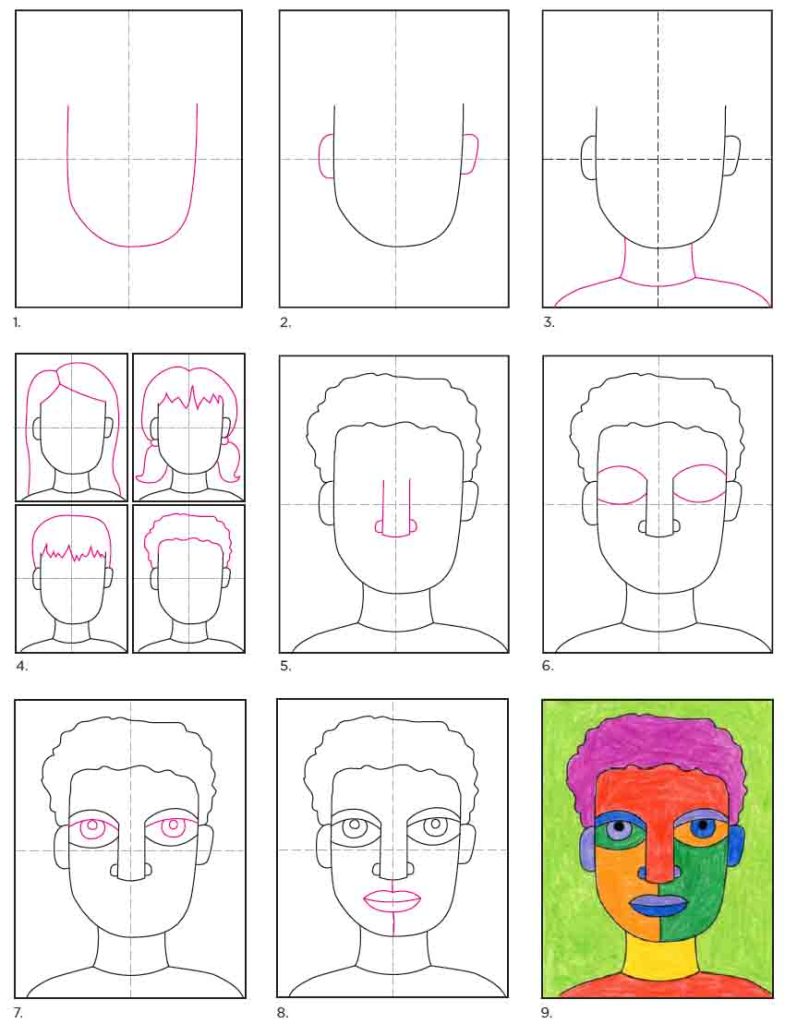
Preview of the Step by Step Abstract Portrait Tutorial
Save me to your Pinterest Board!
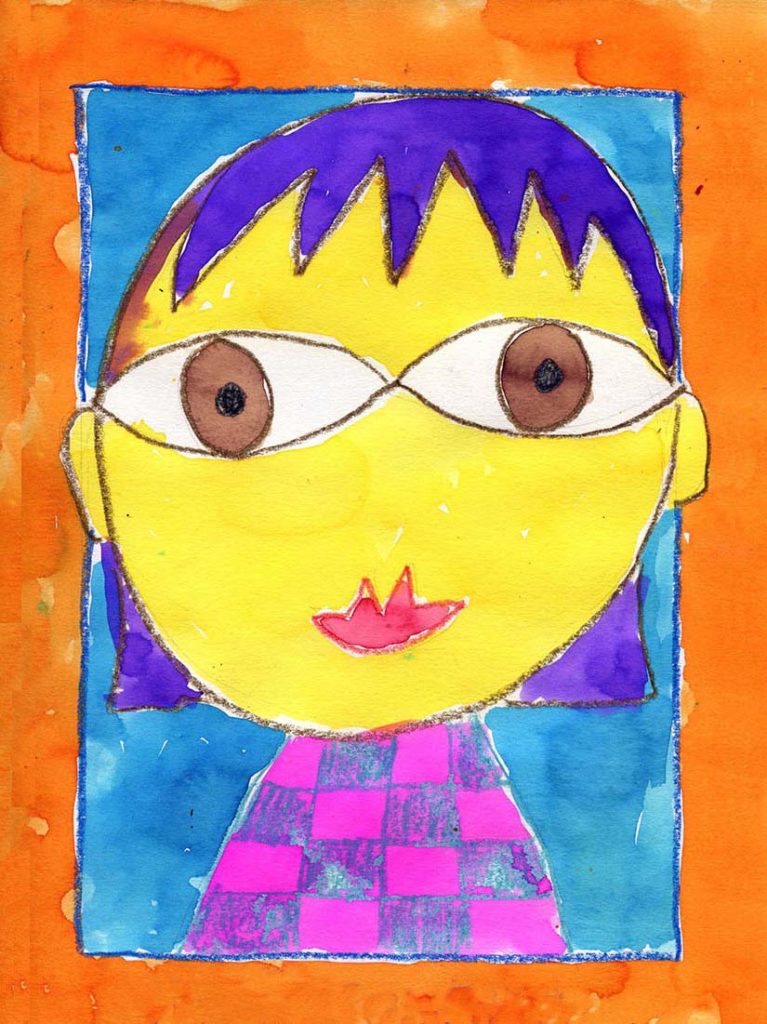
Abstract Self Portrait Coloring Page
Materials for Abstract Self Portrait Drawing
- Eraser. Large ones you can hold in your hand do a much better job than just the pencil tips.

- Black Sharpie Marker. These fine point permanent marker pens make nice black outlines, have a good tip for coloring, and never bleed when they get wet. Use them with good ventilation and add extra paper underneath to protect your tables.
- Prang Crayons. These are a bit softer than other crayons so they sometimes look like oil pastels. They also have a some nice brown shades that Crayola does not have unless you buy their larger boxes.
- Crayola Crayons. The reliable brand that always works well. The 24 pack has some of my favorite golden orange and yellow colors that seem a bit richer and warmer than the ones Prang has.
Step by Step Directions for Abstract Self Portrait
Time needed:45 minutes.
How to Draw an Abstract Self Portrait
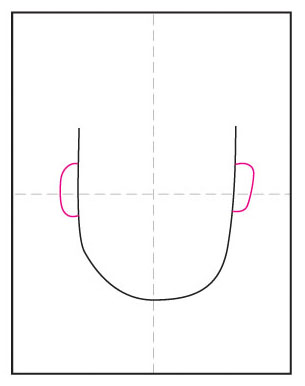
- Start with a large U.

- Add the two ears.
- Draw the neck and shoulders.
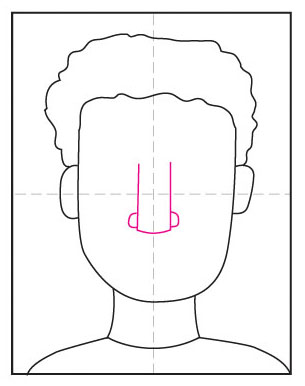
- Add your own hair.

- Draw the centered nose.
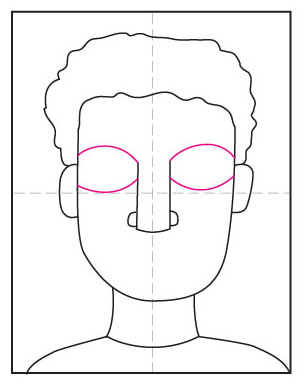
- Start the large eyes.
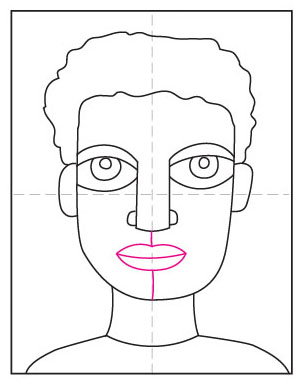
- Add the lids and irises inside.

- Draw a mouth and add two lines.
- Trace with a marker and color.
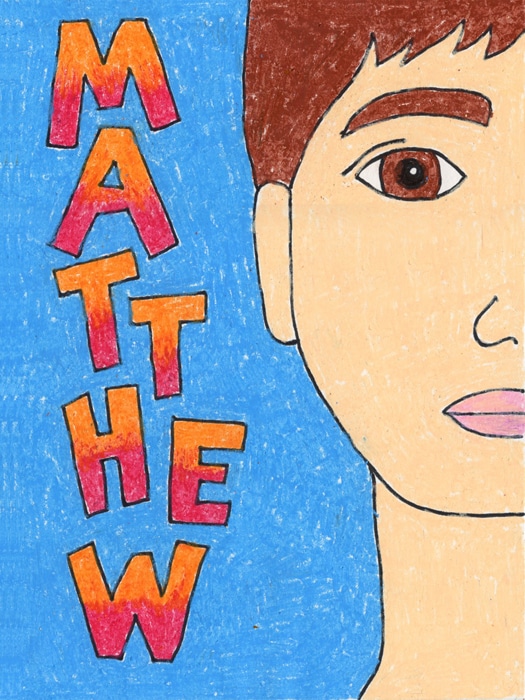
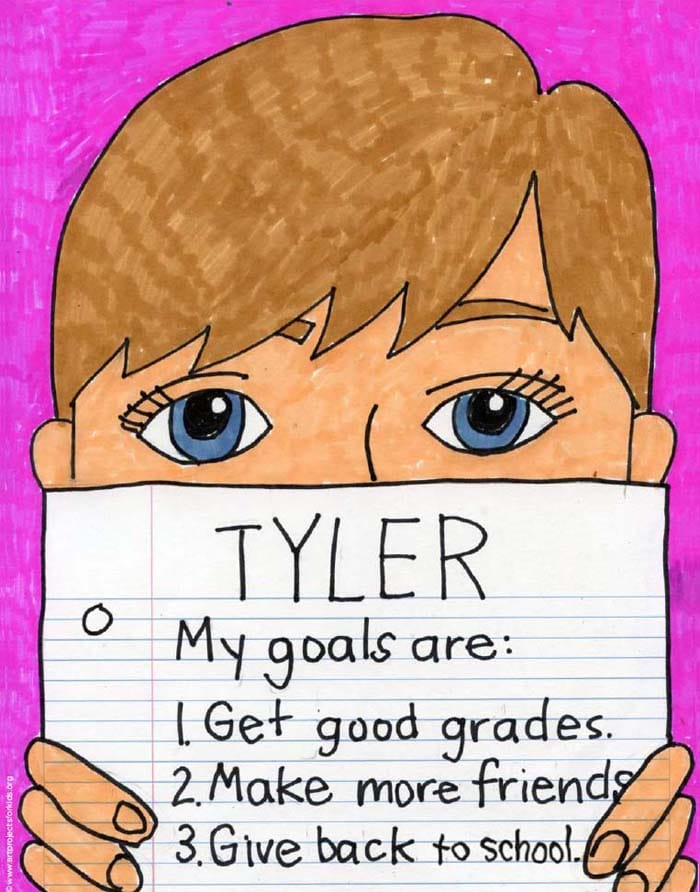
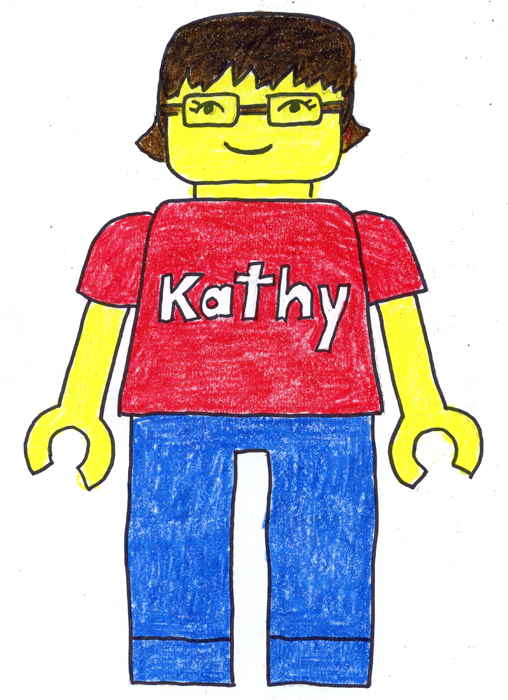
More Portrait Projects
Funny Kids Drawings You Are Fat
Source: https://artprojectsforkids.org/how-to-an-abstract-self-portrait/